Quick Start - Build your first component from a Wireframe
Step by step instructions on building your first component in Quest coming from a sketch or prototype wireframe.
Follow these steps to get started with Quest and build your first component. In this example, we will create a component from a screenshot that started in FigJam. Once you get the hang of it, you can try your own screenshots.
Learn more in detail about Prototypes/Wireframes at this doc here.
Quick Start Guide
Create your Quest account from the sign-up page. If you are joining a team account, please request your admin to send you an invitation to Quest.
Open Quest "New Component" page. Take notice of the "Import Wireframe" area.

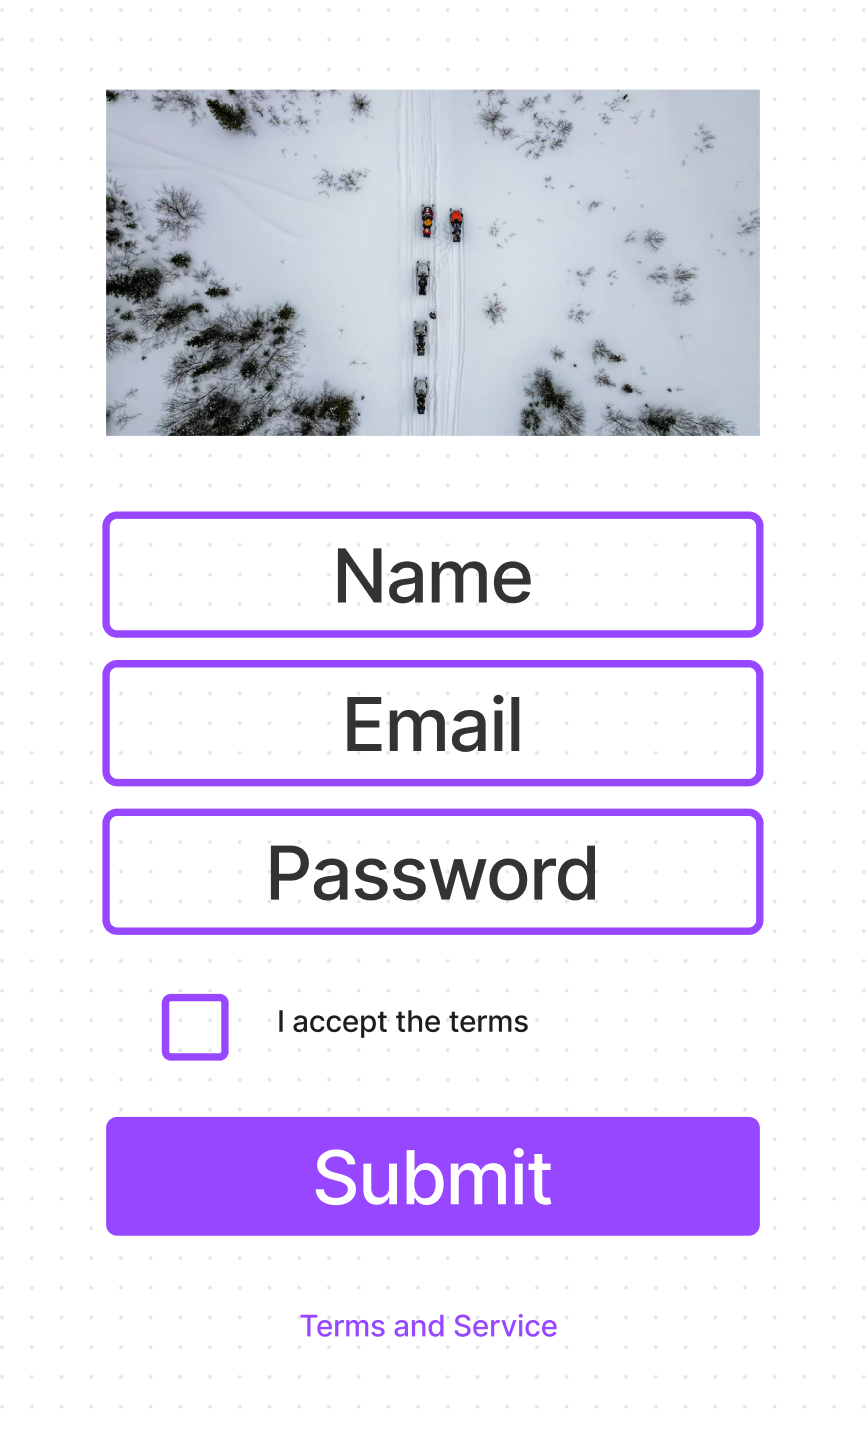
Now let's build a React component for a simple form. We'll use this screenshot from FigJam below as the image to upload into Quest. In the "Start from Screenshot" section, click on the "Click to upload" link and choose this image once you save it locally.

Processing will begin and it will take you to the Quest Editor to see how our AI models have interpreted the screenshot. The models will look at text, responsive layout, image placheholders and map any potential components to library components. With the image above, you will see something similar to screenshot here. This is a working React component automatically generated by Quest from the design.

This completes the presentation part of the UI. The next steps are about setting up props & bindings so you can connect to any back-end of CMS systems. The next steps are typically done by a developer, but for this exercise they are easy enough for anyone to attempt.
Now let's setup props. With "Component" selected in the left panel, add a new prop on the right panel by clicking the "+". Enter prop name as "myForm".

Next, let's setup the bindings for various elements that are dynamically updated from the backend. For example, select the first text field for name called "Text Field/Outlined"on the left panel by navigating through the layer groups. Then, on the right panel, create a binding by selecting the "placeholder" item from the "+" options. Enter binding name as "props.myForm.placeholder" as shown in the screenshot below.

Next, let's setup a function for the button. Select the "Button/Contained" layer on the left panel. On the right panel, add an "OnClick" binding and enter "fns.submitForm" as shown in the screenshot below. This creates a hook to add your custom function code.

Now, select the "Image" element on the left panel, and add a "backgroundImage" binding of "props.myForm.image" as shown in the screenshot below.

With the props & bindings setup, you can now view the code in the Code & Preview Mode or export the code components. For this example, we'll choose to export. To do that, click the download icon at the top. You will download a zip file with assets folder and two .js files - TestWireframe.js and useTestWireframe.js. TestWireframet.js is the presentation aspect of the module representing the visual design. You do not need to edit this file. If an updated design is synced, this code is update automatically. So your designer can iterate with little or no developer intervention.
 useTestWireframe.js is the hook. It has the stub for your custom code. You can call your backend APIs or add any business logic.
After you add your custom code, you can now add the component to your react app in the appropriate location and run it. Refer to the Exporting Code doc for detailed instructions on how to export and run your React/NextJS app.
useTestWireframe.js is the hook. It has the stub for your custom code. You can call your backend APIs or add any business logic.
After you add your custom code, you can now add the component to your react app in the appropriate location and run it. Refer to the Exporting Code doc for detailed instructions on how to export and run your React/NextJS app.
Last updated
Was this helpful?